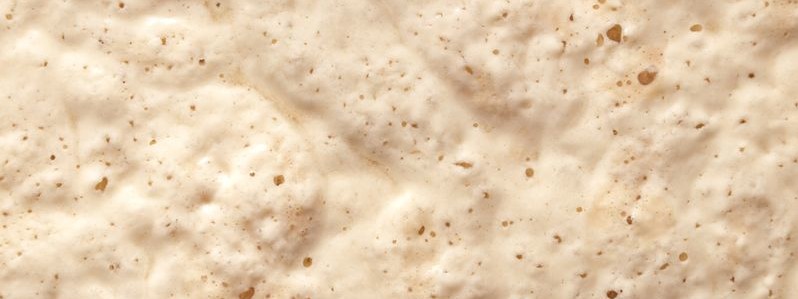
Wondering why so many bakers are going with the sponge and dough method? It’s a two stage bread making process that involves bulk fermentation.
In a fast-paced world of high speed production, it seems out of place. The sponge and dough method takes up a lot of space, the labor costs are high, processing time is long, and it’s difficult to accommodate last minute changes overs.
So why go with sponge and dough?
For one thing, it’s a great process to use for cleaning up your label. It also allows for improved hydration and flavor development.
What are the advantages of the sponge and dough method?
- More extensible dough
- Activation of the yeast
- Facilitation of dough formation
- Imparting superior aroma and flavor
- Generating silk-like, soft and regular crumb textures
- More forgiving of processing delays
- Lower dough mixing times
- Lower dough temperatures, so less use of ice or glycol
What’s the process?
The sponge and dough method consists of two distinct mixing stages.
Stage 1: Making the sponge
In the first stage, 50%–70% of the total dough flour is combined with water and yeast, then mixed and fermented for a period of time (2.5–4.5 hours) to produce a sponge.
The sponge fermentation time may be varied depending on the sponge temperature, the ingredients used and the amount of yeast. In small-scale sponge production, the mixer is used to form the sponge and also to store it. In the large-scale production of sponge, a separate container is used to store the sponge under controlled conditions to ensure the uniformity of sponge development, and the fermentation time is around 2.5-4.5 hours. The temperature of sponge dough is usually kept around 30˚C (86˚F), which is similar to the final dough temperature.
Stage 2: Making the dough
In the second stage, the sponge is added to the other remaining ingredients to form a final dough. The final dough can be processed by a rapid processing method, immediately sized and shaped, or given a short period of bulk fermentation time.

